How to Build a Mobile Fermentation Cart for Farmers Markets: Step‑by‑Step DIY Guide to Selling Fermented Foods
Introduction
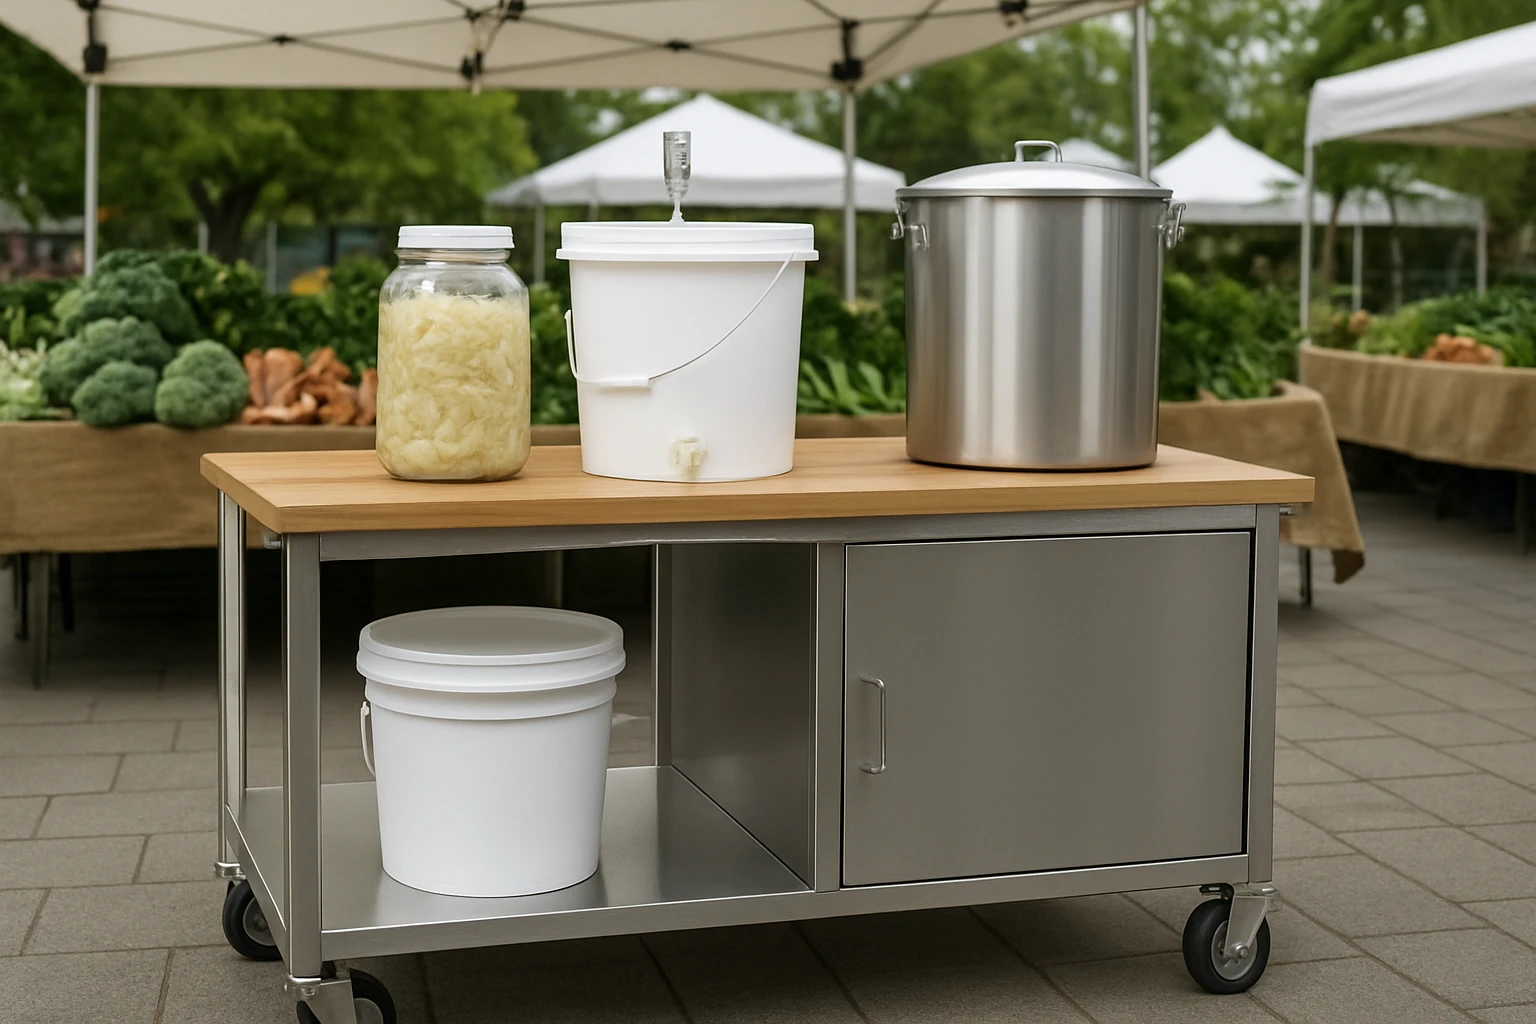
Fermented foods such as kimchi, sauerkraut, and pickles are gaining popularity for their flavor and health benefits. This guide will teach the reader how to design, assemble, and operate a mobile fermentation cart that complies with health regulations and attracts market customers. By following each step, one can transform a simple cart into a professional‑grade selling station while minimizing waste and maximizing profit. The reader will also discover which tools streamline the process, including a complete fermentation kit and a sturdy vendor cart.
What You’ll Need
- LKMSWW Mason Jar Fermentation Kit – $25.96, 4.4/5 rating
- Liskanap Portable Vendor Cart – $419.00, 5/5 rating
- Food On Wheels Guide – $9.89, 4.2/5 rating
- Food‑grade sanitizer, label printer, portable power source, and basic hand tools (screwdriver, wrench)
Step 1: Choose the Right Mobile Base
The foundation of any market stall is a reliable, weather‑resistant cart that can be moved with ease. The Liskanap Portable Vendor Cart offers a 75‑inch tall display, lockable wheels, and a rust‑proof metal frame capable of supporting up to 400 lb, making it ideal for heavy glass jars and storage cabinets. Its weather‑resistant canopy protects fermented products from sun and rain, while the side Velcro straps keep the cover snug during windy days. Compared with a simple folding table, this cart provides built‑in storage, a high‑visibility platform, and a professional appearance that draws customers.
When assembling the cart, follow the pre‑drilled panel instructions and use the supplied screws; no additional tools are required. Tighten each wheel lock after positioning the cart to prevent accidental movement during busy market hours. Verify that the canopy is fully secured before the first day of operation, as a loose cover can compromise product safety.
Step 2: Outfit the Cart with Fermentation Equipment
After the cart is assembled, allocate space for the fermentation containers. The LKMSWW Mason Jar Fermentation Kit provides four 32‑oz wide‑mouth Mason jars, glass fermentation weights, stainless‑steel lids with silicone gaskets, and dual‑channel airlocks. This all‑in‑one set eliminates the need to purchase each component separately, ensuring airtight seals that prevent unwanted mold while allowing carbon dioxide to escape.
Place each jar on a removable shelf or a sturdy tray inside the cart. The wide‑mouth design simplifies the addition of ingredients and cleaning, while the 7‑oz glass weights keep vegetables fully submerged, a critical factor for safe fermentation. The included marker pen, stickers, and jute rope enable clear labeling of production dates, which assists both inventory management and customer transparency.
Step 3: Create a Sanitization Station
Fermentation demands rigorous hygiene to avoid contamination. Allocate a small corner of the cart for a food‑grade sanitizer spray bottle and a clean‑water reservoir. Use a portable power source (such as a rechargeable battery pack) to run a low‑wattage UV sanitizer if desired. Clean each jar, lid, and weight with hot, soapy water, then rinse thoroughly before applying the sanitizer. The kit’s included jar brush makes this process efficient, reducing the time spent on manual scrubbing.
Maintain a log of each cleaning cycle using the marker pen provided in the fermentation kit. This log can be displayed to customers to demonstrate compliance with food safety standards, thereby building trust and encouraging repeat sales.
Step 4: Prepare and Ferment Your First Batch
Begin by selecting high‑quality, locally sourced vegetables. Slice them uniformly, add a measured amount of non‑iodized salt (typically 2 % of the vegetable weight), and pack them tightly into the Mason jars. Place the glass weights on top, secure the stainless‑steel lid, and attach the dual‑channel airlock. The airlock releases carbon dioxide while preventing oxygen entry, creating an anaerobic environment essential for lactic‑acid fermentation.
Label each jar with the production date and expected finish date using the kit’s stickers. Store the jars in a cool, dark area of the cart—ideally between 60 °F and 70 °F—to promote consistent fermentation. Most vegetables reach optimal flavor within 5‑14 days; however, the guide Food On Wheels provides detailed timelines for various recipes, allowing the vendor to plan inventory accordingly.
Step 5: Set Up the Sales Display
The cart’s large countertop offers ample space for product samples, signage, and a point‑of‑sale system. Use the side rod to hang a clear menu that lists available fermented items, pricing, and brief health benefits. The included silicone stoppers enable you to transition a jar from fermentation mode to storage mode without removing the lid, allowing you to showcase finished products directly on the counter.
Arrange the jars in order of readiness, placing the most mature batches at eye level for easy sampling. Offer small tasting cups and a hand‑sanitized spoon for each sample. Display the product’s story—such as “farm‑grown cabbage fermented for 10 days”—to engage shoppers and justify premium pricing.
Step 6: Manage Inventory and Compliance
Maintain a digital spreadsheet or a printed log that records batch start dates, fermentation progress, and sell‑by dates. The marker pen and stickers from the fermentation kit simplify manual tracking, while the Food On Wheels Guide offers templates for regulatory paperwork required by many farmers markets.
Regularly inspect each jar for signs of spoilage, such as off‑colors or foul odors. If a batch shows any signs of mold, discard it immediately and sanitize the affected jar. Consistent record‑keeping demonstrates to market organizers that you adhere to health standards, reducing the risk of fines or shutdowns.
Tips & Pro Tips
- Invest in a small, battery‑operated fan to circulate air inside the cart without exposing jars to drafts; this helps maintain even temperatures.
- Use the jute rope included in the fermentation kit to create a simple hanging system for extra jars when space is limited.
- Offer seasonal limited‑edition flavors (e.g., pumpkin kimchi in the fall) to create urgency and increase sales.
- Store a backup set of jars and lids in a sealed container; this prevents downtime if a jar breaks during transport.
- When the market permits, display the Food On Wheels Guide on a small stand; customers often appreciate the educational value and may purchase the book.
Troubleshooting
Problem: Excessive bubbling or a sour smell indicates over‑fermentation.
Solution: Transfer the contents to a clean jar, add fresh brine, and seal with a new silicone gasket. Reduce fermentation time for the next batch.
Problem: Lids do not seal airtight.
Solution: Verify that the silicone gaskets are correctly positioned and free of debris. The stainless‑steel lids of the LKMSWW Mason Jar Fermentation Kit are designed to be rust‑proof; replace any damaged gasket immediately.
Problem: Cart wheels lock unexpectedly during transport.
Solution: Ensure the lock lever is fully disengaged before moving. If the wheel continues to stick, lubricate the axle with a food‑grade silicone spray.
Conclusion
By following this guide, the reader can construct a functional mobile fermentation cart, maintain safe fermentation practices, and present a compelling product line at farmers markets. The combination of the Liskanap Portable Vendor Cart and the LKMSWW Mason Jar Fermentation Kit provides a cost‑effective, professional solution that scales with demand. With diligent record‑keeping and the strategic insights from the Food On Wheels Guide, one can turn a hobby into a profitable micro‑business.
Products Mentioned in This Guide
Frequently Asked Questions
What basic equipment is required to build a mobile fermentation cart?
You need a sturdy vendor cart, a fermentation kit with mason jars, and a food‑service guide to meet health standards.
How do I ensure my cart complies with local health regulations?
Follow the Food On Wheels Guide, keep jars sealed, maintain 40‑70°F storage, and display a valid food‑handler permit.
Can I sell both kimchi and pickles from the same cart?
Yes, as long as each product is stored in separate, labeled containers and kept at the proper temperature.
What are the best practices for cleaning and sanitizing the cart?
Wipe surfaces with food‑grade sanitizer after each sale, rinse jars with hot water, and regularly inspect seals for wear.
How can I maximize profit while minimizing waste on market days?
Prepare batch sizes that match expected demand, offer sample bites to boost sales, and reuse jars after thorough sterilization.