Introduction
Living in an apartment often means limited countertop and cabinet space, yet many enthusiasts still wish to explore the health benefits of home fermentation. This guide will teach the reader how to construct a vertical fermentation rack that maximizes space, maintains proper airflow, and keeps jars securely organized. By the end of the article, one will possess a sturdy, modular rack suitable for sauerkraut, kimchi, pickles, and kombucha, all while using reliable tools that simplify the process.
The guide emphasizes practical techniques that work with standard wide‑mouth mason jars, and it highlights a few highly rated Amazon products that enhance durability, hygiene, and ease of use. Even without purchasing these items, the reader can still complete the project using basic hardware found at a local store.
What You’ll Need
- Wooden or metal shelving brackets (2‑inch deep, weight‑rated for at least 30 lb per shelf)
- 2 × 4 lumber or metal pipe for vertical supports
- Wood screws or pipe flanges
- Drill with appropriate bits
- Measuring tape and level
- Optional but recommended tools:
- Trellis+Co Fermentation Kit – stainless‑steel lids, waterless airlocks, and PickleHelix weights
- Country Trading Glass Weights – glass fermentation weights with easy‑lift handles
- Zazolyne Airlock Set – reusable S‑shape airlocks and grommets
- IceFun Fermentation Kit – complete jar set with plastic lids and dual‑channel airlocks
- Masontops Pickle Pipes – silicone waterless airlock lids
Step 1: Plan the Rack Dimensions
Begin by measuring the available vertical space near the refrigerator or pantry. A typical apartment kitchen offers 6–7 feet of height; allocating 4 feet for the rack leaves room for the cabinet doors. Determine the number of jar tiers needed; each tier should accommodate a 32‑oz mason jar (approximately 4 inches tall) plus clearance for the lid and airlock, totaling about 6 inches per level.
For a four‑tier rack, the total height will be roughly 24 inches, allowing ample room for additional accessories such as labels or a small thermometer. Sketch a simple diagram showing two vertical supports, three horizontal shelves, and the placement of jars on each shelf.
Planning ensures that the final structure fits comfortably without obstructing kitchen traffic, and it helps calculate the amount of lumber or pipe required.
Step 2: Cut and Assemble the Vertical Supports
Using a saw, cut two pieces of 2 × 4 lumber to the desired rack height (e.g., 48 inches). If metal pipe is preferred, cut two sections of 1‑inch schedule‑40 pipe to the same length and attach flanges for mounting.
Secure the vertical supports to the wall studs with heavy‑duty brackets or pipe clamps. This anchoring provides stability, especially when the rack holds multiple heavy jars filled with brine.
When using metal supports, consider painting them with a food‑safe, rust‑resistant coating to prevent corrosion in humid environments.
Step 3: Install Horizontal Shelves
Attach three shelving brackets to each vertical support at evenly spaced intervals (e.g., 12 inches apart). Ensure the brackets are level before tightening the screws.
Place a 2‑inch deep wooden board or metal shelf onto each pair of brackets. The shallow depth keeps the rack compact while still providing a stable platform for jars.
Optional: Apply a food‑grade silicone sealant along the underside of each shelf to prevent moisture migration onto the wall, which can cause mold growth over time.
Step 4: Prepare the Fermentation Jars
Select wide‑mouth mason jars that fit comfortably on the shelves. If the reader already owns a set, such as the IceFun Fermentation Kit, those jars are ideal because they include plastic lids, dual‑channel airlocks, and glass weights designed for consistent submersion.
The IceFun kit costs $34.99, has a 4.3‑star rating from 74 reviews, and provides a complete starter set. Its plastic lids eliminate rust concerns, while the included glass weights keep vegetables beneath the brine without absorbing odors.
If the reader prefers stainless steel components, the Trellis+Co Fermentation Kit offers waterless silicone airlocks and PickleHelix weight coils. Priced at $40.70 with a 4.4‑star rating from 392 reviews, this kit reduces the need for water‑filled airlocks and provides durable, medical‑grade 316 stainless steel lids.
Regardless of the chosen kit, sterilize each jar, lid, and weight by washing in hot, soapy water and rinsing thoroughly. This step eliminates unwanted microbes that could spoil the fermentation.
Step 5: Install Airlocks and Weights
Place a weight coil or glass weight on top of the vegetables to keep them fully submerged. For stainless‑steel enthusiasts, the PickleHelix coils from the Trellis+Co kit automatically adjust to changing brine levels, ensuring a tight seal without displacing liquid.
Alternatively, the Country Trading Glass Weights are smooth, heavy glass discs with wide handles for easy removal. Priced at $16.99 and rated 4.6 stars from 1,023 reviews, they are simple to sterilize and provide reliable pressure.
After adding the weight, affix the airlock. The waterless airlocks from the Trellis+Co kit eliminate the need for a water reservoir, while the Zazolyne Airlock Set offers transparent S‑shape airlocks that allow visual monitoring of gas release. The Zazolyne set costs $8.50, holds a 4.6‑star rating from 442 reviews, and includes grommets for both mason jars and plastic buckets.
For a silicone alternative, the Masontops Pickle Pipes provide a low‑profile, waterless valve that self‑burps excess CO₂. Priced at $23.99 with a 4.7‑star rating from 4,557 reviews, these silicone lids are dishwasher safe and resistant to wear.
Step 6: Arrange Jars on the Rack
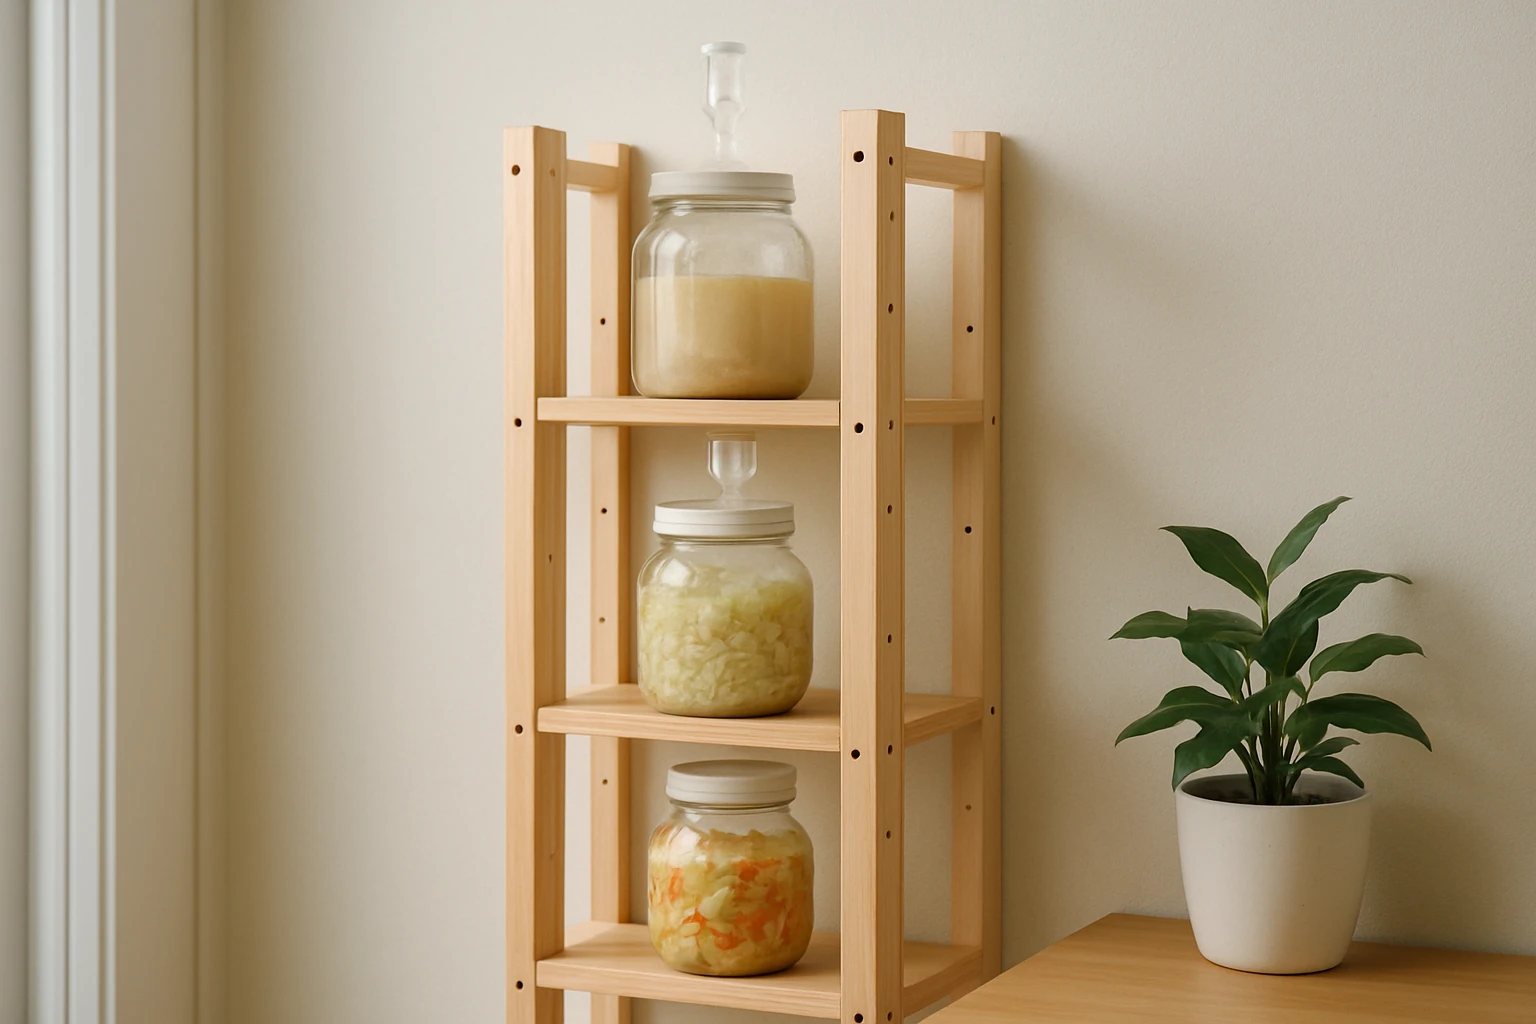
Place each prepared jar on a shelf, ensuring the lid’s airlock protrudes upward and does not interfere with neighboring jars. Space the jars at least 1 inch apart to allow air circulation, which helps maintain a stable temperature and prevents condensation buildup on the lid.
If the rack includes four tiers, you can allocate each tier to a different type of ferment (e.g., sauerkraut on the bottom, kimchi on the second level, pickles on the third, and kombucha on the top). This arrangement facilitates organized labeling and easy access for sampling.
Secure the shelves with a small amount of non‑slip silicone pad if the jars tend to slide during transport. This precaution protects both the rack and the jars from accidental knocks.
Step 7: Monitor and Maintain the Fermentation
Position the rack in a cool, dark area of the kitchen—ideally between 60–70 °F (15–21 °C). Temperature stability is crucial for consistent bacterial activity.
Check the airlocks daily for signs of blockage or excess pressure. The waterless designs of Trellis+Co and Masontops minimize the need for manual burping, but visual inspection remains best practice.
Label each jar with the start date using the tags provided in the IceFun kit or simple masking tape. Recording the date helps track fermentation progress and ensures timely consumption.
Tips & Pro Tips
- Use a magnetic level on the shelves to guarantee perfect horizontality; uneven shelves can cause jars to tip.
- Rotate jars halfway through the fermentation period to promote even flavor development.
- For aromatic ferments, add a small piece of ginger or garlic to the brine; this enhances probiotic diversity.
- If space permits, attach a small LED strip under each shelf; low‑intensity light does not affect fermentation but improves visibility.
- Store the rack away from direct sunlight, as UV exposure can degrade silicone components over time.
Troubleshooting
- Problem: Excessive bubbling and pressure buildup.
Solution: Verify that the airlock valve is not obstructed. If using waterless airlocks, ensure the silicone seal is intact; replace if cracked. - Problem: Mold appearing on the surface of the brine.
Solution: Confirm that the weight fully submerges the vegetables. Add an additional glass weight or adjust the PickleHelix coil to increase pressure. - Problem: Off‑odors or sour taste beyond expected.
Solution: Check ambient temperature; higher temperatures accelerate fermentation and can produce undesirable flavors. Move the rack to a cooler spot.
Conclusion
By following these seven steps, the reader can construct a compact vertical fermentation rack that maximizes limited apartment space while preserving the quality and safety of home‑grown probiotic foods. The guide demonstrates how to integrate reliable Amazon tools—such as the Trellis+Co Fermentation Kit, Country Trading Glass Weights, Zazolyne Airlock Set, IceFun Fermentation Kit, and Masontops Pickle Pipes—to streamline the process and reduce maintenance.
Whether one chooses to purchase these recommended products or rely on basic hardware, the resulting rack offers a durable, organized, and aesthetically pleasing solution for continuous fermenting adventures.
Products Mentioned in This Guide
Frequently Asked Questions
What materials are best for a DIY vertical fermentation rack?
Use 2‑inch deep, weight‑rated wooden or metal brackets, 2×4 lumber or metal pipe for supports, and stainless‑steel screws for durability and hygiene.
How much weight can each shelf of the rack hold?
Choose brackets rated for at least 30 lb per shelf to safely support multiple full‑size mason jars.
Do I need special tools to build the rack?
A drill, measuring tape, level, and appropriate bits are essential; optional tools like a screwdriver set or pipe wrench can speed up assembly.
How can I ensure proper airflow for fermentation?
Leave a 1‑2 inch gap between jars and use open‑sided shelving to allow gases to escape and maintain even temperature.
Is the rack easy to clean and maintain?
Yes, design it with removable shelves and smooth surfaces so you can wipe down with a mild sanitizer after each batch.