How to Ferment Low-Sodium Pickles: Step-by-Step Methods, Salt Alternatives & Safety Tips
Introduction
Fermentation transforms ordinary vegetables into tangy, probiotic foods that support digestive health and immune function. This guide explains how to produce low‑sodium pickles while preserving the complex flavors that traditional brines provide. Readers will learn which tools simplify the process, which salt alternatives maintain safety, and how to avoid common pitfalls that jeopardize fermentation. By following these instructions, one can enjoy crunchy, health‑promoting pickles without excess sodium.
Low‑sodium pickling requires careful balance between flavor, microbial activity, and texture. The use of specialized equipment such as air‑lock lids prevents oxygen ingress, which could spoil the batch. Selecting potassium‑based salts reduces sodium intake while still supplying the chloride ions necessary for lactic‑acid bacteria. The following sections present a systematic approach that integrates these considerations.
What You'll Need
- Wide‑mouth mason jars (quart size recommended)
- Fermentation air‑lock lids and weights – see Masontops Fermentation Kit
- Low‑sodium seasoning – consider Morton Salt Substitute or Aromasong Low Sodium Sea Salt
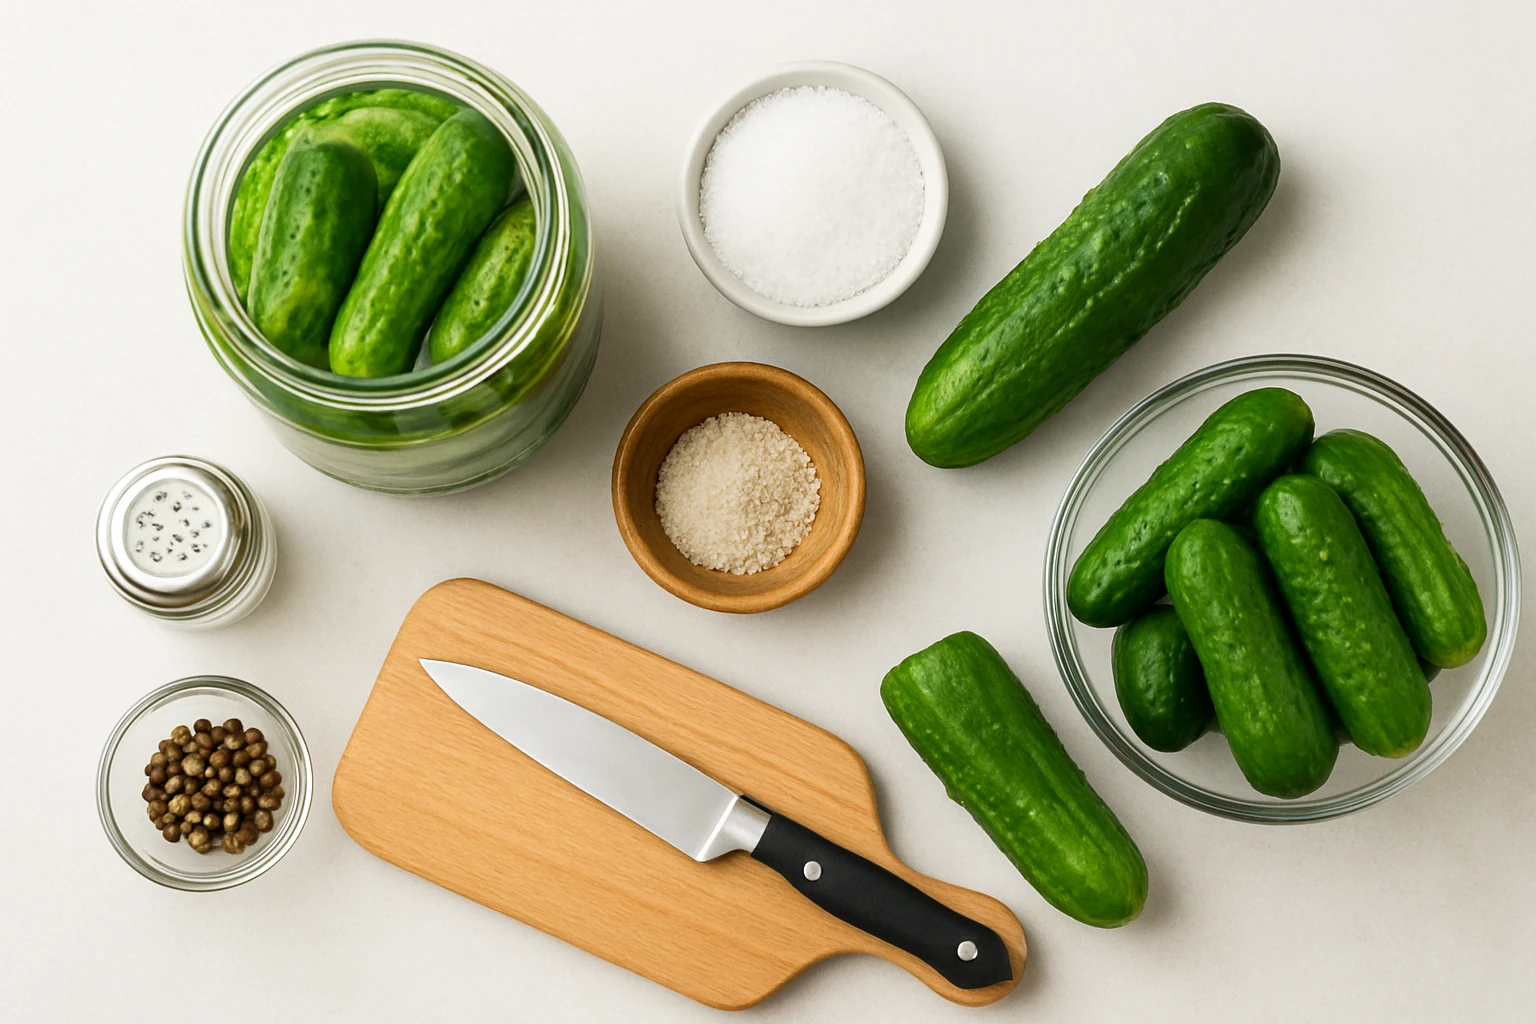
- Fresh vegetables (cucumbers, carrots, radishes, etc.)
- Food‑grade sugar or honey (optional, for flavor balance)
- Non‑metallic mixing bowl and wooden tamper
Step 1: Prepare Equipment
Begin by cleaning all jars, lids, and weights with hot, soapy water, then rinse thoroughly to remove detergent residue. The Masontops Fermentation Kit includes four silicone air‑lock lids and four stone weights that fit standard wide‑mouth jars, eliminating the need for improvised covers. This kit is priced at $54.90 and carries a 4.8‑star rating from 4,682 verified reviews, indicating reliable performance for home fermenters. After cleaning, inspect each component for cracks or wear; damaged items can compromise the anaerobic environment.
Place the lids on the jars without sealing them tightly; the air‑lock mechanism will allow carbon dioxide to escape while preventing oxygen entry. The included acacia wood tamper helps press vegetables firmly into the brine, reducing the risk of floating debris that could become mold‑prone. By using purpose‑built tools, one minimizes the time spent troubleshooting equipment failures later in the process.
Step 2: Create Low‑Sodium Brine
Traditional pickling brine uses 2‑3% sodium chloride; to lower sodium, substitute part of the salt with potassium chloride. The Morton Salt Substitute provides potassium chloride in 3.12‑ounce packets, priced at $10.50 with a 4.1‑star rating from 5,042 reviewers, making it a convenient, doctor‑recommended option for sodium‑restricted diets. Dissolve one packet per quart of water, then add a measured portion of Aromasong Low Sodium Sea Salt to achieve a final sodium concentration of approximately 1%.
The Aromasong blend is 60% lower in sodium than regular table salt, priced at $29.87 and earning a 4.5‑star rating from 1,054 reviews, and it contributes magnesium, potassium, and calcium for added nutritional benefit. Warm the water to about 40 °C (104 °F) to aid dissolution, then allow the brine to cool to room temperature before adding vegetables. Maintaining a cooler brine temperature prevents premature fermentation and preserves crispness.
Step 3: Prepare Vegetables
Wash cucumbers and other vegetables thoroughly, then slice them to the desired thickness; uniform pieces ferment evenly. For classic dill pickles, cut cucumbers into spears about 4 inches long, leaving the skin intact to retain natural pectin. Place the cut vegetables into a non‑metallic bowl, then sprinkle with a small amount of the low‑sodium salt mixture to draw out excess moisture.
After a brief 15‑minute rest, gently massage the vegetables to release water, then transfer them into the prepared mason jar. Use the acacia wood tamper from the Masontops Fermentation Kit to press the vegetables down until they are fully submerged beneath the brine. Proper packing prevents air pockets, which are common sites for mold development.
Step 4: Add Weights and Seal
Insert one of the stone weights from the kit on top of the packed vegetables to keep them below the brine surface. The weight’s density ensures a stable environment, reducing the likelihood of surface fermentation that can produce off‑flavors. Then affix the silicone air‑lock lid, ensuring the vent is oriented upward to allow carbon dioxide to escape.
Do not overtighten the lid; the air‑lock is designed to create a one‑way seal that maintains anaerobic conditions while preventing pressure buildup. Record the date on the jar’s label for future reference, as fermentation time varies with temperature and vegetable type.
Step 5: Ferment at Controlled Temperature
Store the sealed jars in a cool, dark place where the ambient temperature remains between 18 °C and 22 °C (65 °F‑72 °F). This range supports lactic‑acid bacteria while inhibiting undesirable yeasts. Fermentation typically proceeds for 5‑7 days for crisp pickles; longer periods produce softer textures and stronger tang.
Check the jars daily for signs of mold or cloudiness; a clear brine indicates healthy fermentation. If any surface film appears, remove it promptly with a clean spoon. The air‑lock lid will release a faint hissing sound as carbon dioxide escapes, confirming active microbial activity.
Step 6: Taste, Adjust, and Store
After the initial fermentation period, open a jar to taste a sample piece. If the flavor is not yet tangy enough, reseal the jar and allow an additional 24‑48 hours of fermentation. Once the desired sourness is achieved, transfer the jars to the refrigerator to slow further fermentation and preserve crunch.
Refrigerated pickles remain safe for several weeks, though flavor continues to develop slowly. Use the remaining Aromasong Low Sodium Sea Salt for future brines, and keep the Morton Salt Substitute on hand for low‑sodium seasoning of other dishes.
Tips & Pro Tips
- Use non‑iodized salt substitutes to avoid inhibiting bacterial activity; iodine can suppress fermentation.
- Add a few garlic cloves, peppercorns, or dill sprigs for additional flavor without increasing sodium.
- Maintain a consistent temperature; rapid fluctuations can cause irregular acid production.
- For extra crispness, add a small amount of grape leaves or oak leaves, which contain tannins that reinforce cell walls.
Troubleshooting
If a jar develops a pink or orange film, this is likely yeast contamination; discard the batch and sterilize equipment before restarting. A mushy texture often results from insufficient weight pressure, allowing vegetables to float and become exposed to oxygen. In cases where the brine becomes overly salty, dilute with filtered water and adjust the next batch’s salt ratio accordingly.
Conclusion
Fermenting low‑sodium pickles combines culinary tradition with modern health considerations, delivering probiotic‑rich snacks that support well‑being. By employing the Masontops Fermentation Kit, low‑sodium salts such as Morton Salt Substitute and Aromasong Low Sodium Sea Salt, and careful temperature control, one can achieve consistent, flavorful results. Experiment with different vegetables and spices to personalize the taste profile while maintaining the health benefits of reduced sodium intake.
Products Mentioned in This Guide
Frequently Asked Questions
What salt alternatives can I use for low-sodium pickle fermentation?
Potassium‑chloride (often sold as “No‑Salt” salt) and a blend of potassium‑magnesium salts are common low‑sodium substitutes that still provide the chloride needed for lactic‑acid bacteria.
How much potassium‑based salt should I add compared to regular salt?
Use roughly the same weight as you would regular salt (about 2% of the vegetable weight), but start with 1.5% and adjust to taste, as potassium salts can taste slightly bitter.
Do I need an air‑lock lid for safe fermentation?
Yes, an air‑lock lid or fermentation weight prevents oxygen entry and reduces the risk of mold or spoilage while allowing CO₂ to escape.
How long should low-sodium pickles ferment at room temperature?
Typically 5–7 days at 65‑72°F (18‑22°C), but monitor taste and texture; lower salt may speed up fermentation, so check daily after day 4.
How can I tell if my low-sodium pickles have spoiled?
Look for off‑colors, fuzzy mold, or a foul odor; a sour, clean smell and firm crunch indicate they are safe, while any slime or unpleasant smell means discard.