How to Ferment Pickles in the Refrigerator: Step‑by‑Step Guide to Crisp, Safe Fridge Fermentation
Introduction
This guide will teach the reader how to produce crunchy, flavorful pickles using the refrigerator as a controlled fermentation environment. By following the outlined steps, one will understand the science behind lacto‑fermentation, how to maintain food safety, and which tools simplify the process. The method described requires no special heating equipment, making it ideal for apartment kitchens or anyone seeking a low‑maintenance approach. Ultimately, the reader will be able to enjoy homemade pickles that retain nutrients, probiotic benefits, and a satisfying crunch.
Fermentation in the fridge differs from traditional room‑temperature methods because the cooler temperature slows bacterial activity, yielding a milder sourness while preserving crispness. This technique also reduces the risk of over‑fermentation, which can cause off‑flavors or mushy textures. The following sections present each stage in detail, with product recommendations that enhance efficiency and consistency.
What You'll Need
- Fresh cucumbers (pickling‑grade)
- Non‑iodized salt (e.g., kosher or sea salt)
- Water (filtered or boiled and cooled)
- Spices such as dill seed, garlic, and peppercorns
- Fermentation container(s) – see product recommendations below
- Airlock system or self‑burping lids for gas release
- Weight to keep vegetables submerged
- Clean kitchen towels or cheesecloth (optional)
Step‑by‑Step Instructions
Step 1: Prepare the Cucumbers
Begin by washing cucumbers thoroughly under cold running water to remove any soil or pesticide residues. Trim the ends, especially the blossom end, because it contains enzymes that can cause softening. For extra crunch, soak the cucumbers in an ice‑water bath for 30 minutes; the cold shock contracts cell walls, preserving firmness during fermentation.
Slice the cucumbers according to preference: spears, chips, or whole small cucumbers (gherkin style). Consistency in size ensures even salt penetration and uniform flavor development.
If you plan to ferment a large batch (more than 4 quarts), consider using the Folinstall Fermentation Jars. These 1.5‑gallon square jars provide ample volume, a wide 4.3" mouth for easy loading, and built‑in airlock valves that prevent pressure buildup while allowing CO₂ to escape. The airtight lid and silicone plug maintain a stable environment, which is especially helpful when handling multiple cucumber spears.
For medium‑sized batches (approximately 1 gallon), the FastRack Fermentation Jar offers a clear, wide‑mouth design and a twin‑bubble airlock that works well in a refrigerator shelf. Its BPA‑free glass tolerates boiling water for sterilization, ensuring the jar is free of contaminants before use.
Step 2: Create the Brine
Calculate the brine concentration based on the volume of water. A reliable ratio is 2 tablespoons of non‑iodized salt per quart of water, which yields a 5 % salinity ideal for lacto‑fermentation. Dissolve the salt completely in warm water, then let the solution cool to room temperature before adding it to the cucumbers.
To enhance flavor, add a tablespoon of Mrs. Wages Kosher Dill Pickle Mix per quart of brine. This mix supplies traditional dill spices, garlic, and a hint of pepper, delivering a classic taste without the need to source individual herbs. Each 6.5 oz packet makes about 7 quarts of brine, providing excellent value at $5.19 for a six‑pack.
Stir the brine until all seasoning particles are evenly distributed. The mixture should be clear and free of undissolved salt, which could cause grainy texture on the cucumbers.
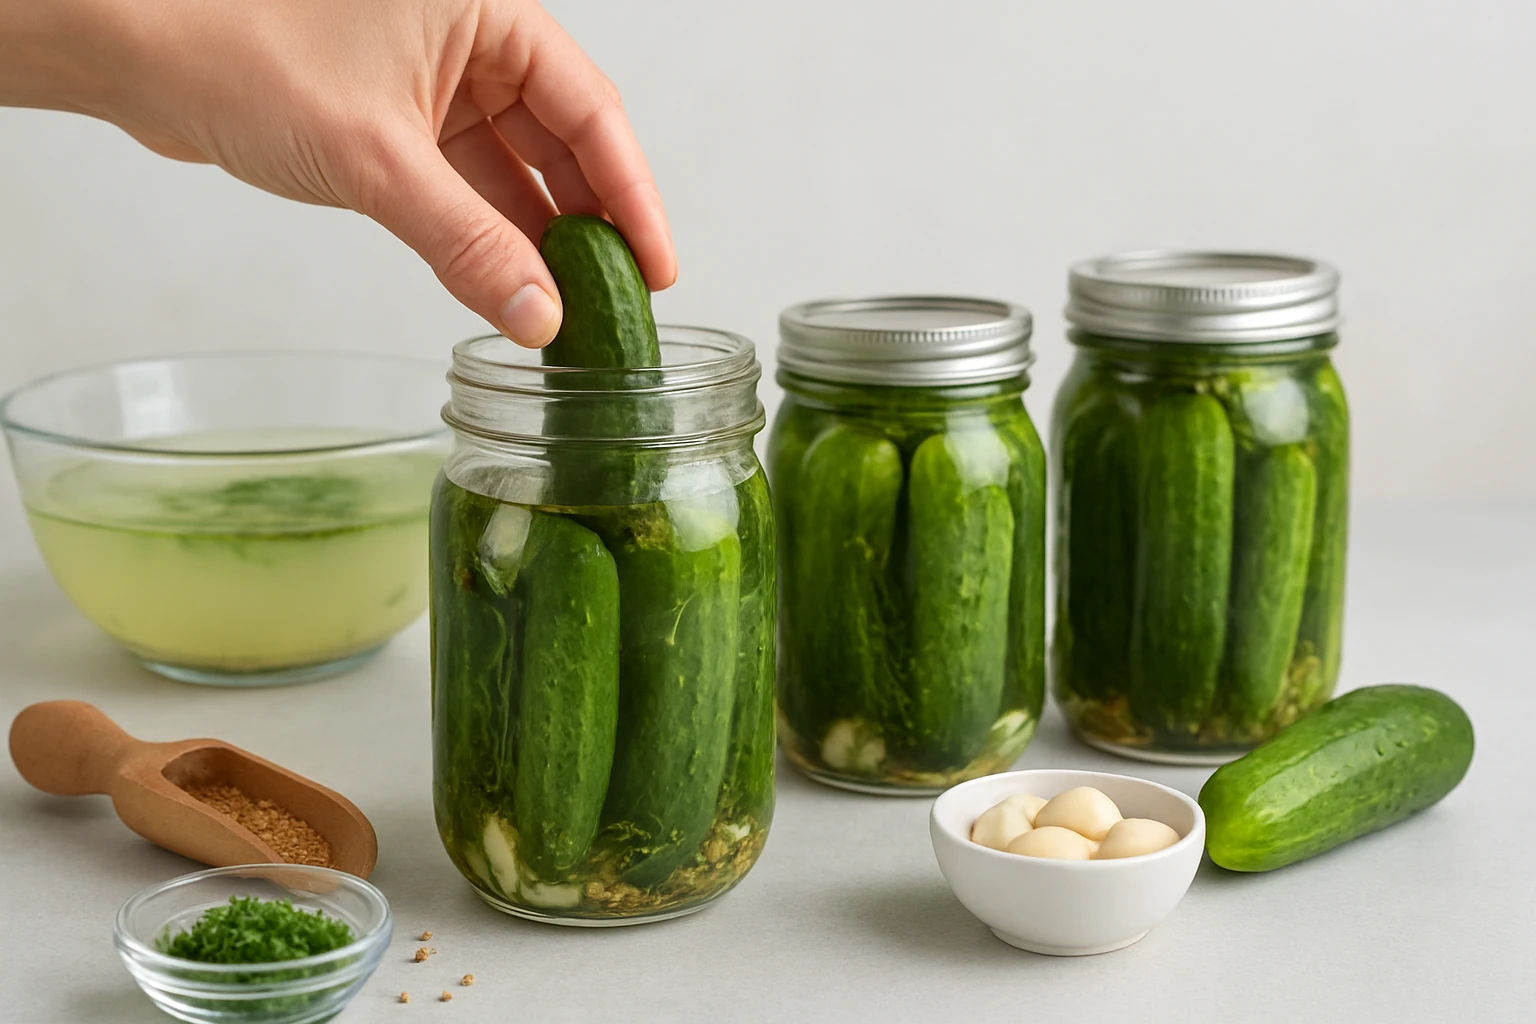
Step 3: Pack the Jars
Place a small weight (a fermentation weight, a clean stone, or a sealed zip‑lock bag filled with water) at the bottom of the jar to keep cucumbers submerged. Pack the cucumbers tightly but without crushing them; the goal is to eliminate air pockets that could promote mold growth.
Once the jar is filled, pour the cooled brine over the cucumbers, ensuring they are fully covered by at least one inch of liquid. Air exposure above the brine is acceptable because the subsequent airlock will vent gases safely.
If you prefer a waterless solution, the Masontops Pickle Pipes can be screwed onto any wide‑mouth mason jar. These silicone self‑burping lids feature a one‑way valve that releases CO₂ without requiring a separate water‑filled airlock, simplifying the setup and reducing the risk of leaks.
For very large batches (over 6 gallons), the 2 Gallon Fermentation Jar provides a heavy‑duty, airtight screw lid with two reusable airlocks. Its 7.6 liter capacity and clear scale markings allow precise monitoring of fermentation progress, making it a versatile choice for both pickles and small batches of mead or kombucha.
Step 4: Seal and Attach an Airlock
Secure the lid tightly. If using a traditional jar with a separate airlock, attach the airlock valve according to the manufacturer’s instructions. Fill the airlock with a small amount of water (or sanitizer) to create a liquid seal that permits CO₂ to escape while preventing oxygen ingress.
For jars equipped with the Masontops Pickle Pipes, simply screw the lid onto the jar; the built‑in valve operates automatically, eliminating the need for a separate water reservoir. This design reduces cleaning steps and is ideal for refrigerator use where space is limited.
Place the sealed jar on a refrigerator shelf. The cool temperature (35‑40 °F or 2‑4 °C) slows bacterial activity, resulting in a gentle sourness and preserving the cucumber’s crunch.
Step 5: Ferment in the Refrigerator
Allow the cucumbers to ferment for 3‑7 days, depending on desired sourness. Check the jars daily for signs of mold (white, fuzzy growth) or off‑odors. The presence of bubbles in the airlock indicates active fermentation; if bubbles cease, the process may be complete.
When the flavor reaches the preferred level, remove the airlock or lid, taste a piece, and then transfer the pickles to a clean storage container if desired. The brine can be kept in the same jar; refrigerating the finished product halts further fermentation, extending shelf life for several weeks.
For larger jars such as the Folinstall or 2 gallon models, it is advisable to rotate the jar gently once a day to redistribute the brine and ensure even fermentation throughout the batch.
Step 6: Finish and Store
Label each jar with the production date and flavor profile. Store the finished pickles in the refrigerator, where they will remain crisp for up to three months. If the cucumbers become soft over time, they can still be used in salads, relishes, or as a topping for sandwiches.
Remember that the refrigerator continues to produce a very slow fermentation; therefore, consuming the pickles within a reasonable timeframe preserves the intended texture and taste.
Tips & Pro Tips
- Use filtered water to avoid chlorine, which can inhibit lactic‑acid bacteria.
- Keep the brine level above the vegetables at all times; a weight helps prevent floating.
- For extra crunch, add a few grape leaves or a pinch of calcium chloride to the jar.
- Maintain a consistent fridge temperature; frequent door opening can cause temperature swings that affect fermentation speed.
- If using the Masontops Pickle Pipes, clean the silicone valve with warm, soapy water after each batch to prevent residue buildup.
- When scaling up, rely on the 2 gallon jar’s measurement markings to track salt concentration accurately.
Troubleshooting
| Problem | Possible Cause | Solution |
|---|---|---|
| Mold on surface | Insufficient submersion or contamination | Remove mold, add more brine, ensure weight keeps cucumbers below liquid. |
| No bubbles | Too low temperature or insufficient salt | Check fridge temperature, ensure salt concentration is correct. |
| Soft texture | Over‑fermentation or warm spots in fridge | Consume sooner, move jar to colder shelf, reduce fermentation time. |
Conclusion
By following this comprehensive guide, the reader can create refrigerator‑fermented pickles that are crisp, safe, and richly flavored. The process leverages simple ingredients, controlled temperature, and reliable tools such as the Folinstall Fermentation Jars, FastRack Fermentation Jar, 2 Gallon Fermentation Jar, Masontops Pickle Pipes, and Mrs. Wages Kosher Dill Pickle Mix. Whether fermenting a single jar or a large batch, the principles remain the same: maintain cleanliness, keep vegetables submerged, allow gentle CO₂ release, and store the finished product at cool temperatures. With practice, one can experiment with spices, vegetables, and brine variations, expanding the homemade pantry while enjoying the probiotic benefits of lacto‑fermentation.
Products Mentioned in This Guide
Frequently Asked Questions
Can I ferment pickles in the refrigerator instead of at room temperature?
Yes, the fridge slows bacterial activity, giving milder sourness and a crisp texture while reducing over‑fermentation risk.
How long does refrigerator fermentation take for crunchy pickles?
Typically 3‑7 days, depending on cucumber size and desired tanginess; taste daily after day three.
Do I need to add salt or a starter culture for fridge fermentation?
Use a 2‑3 % salt brine; a starter isn’t required because native lactobacilli on the cucumbers initiate fermentation.
What safety signs indicate my fridge‑fermented pickles have gone bad?
Off‑colors, foul odors, or mold on the surface mean discard the batch; a clean, slightly tangy smell is normal.
Can I reuse the brine from a previous batch for a new fermentation?
Yes, the leftover brine contains beneficial bacteria and can be reused, but keep it refrigerated and use within a week.